
In part 1 I built the base for the horse. Now it was time to start forming the body. As I had previously mentioned, I used oak for this rocking horse but the sky is the limit for whatever type or combination of woods that can be used.
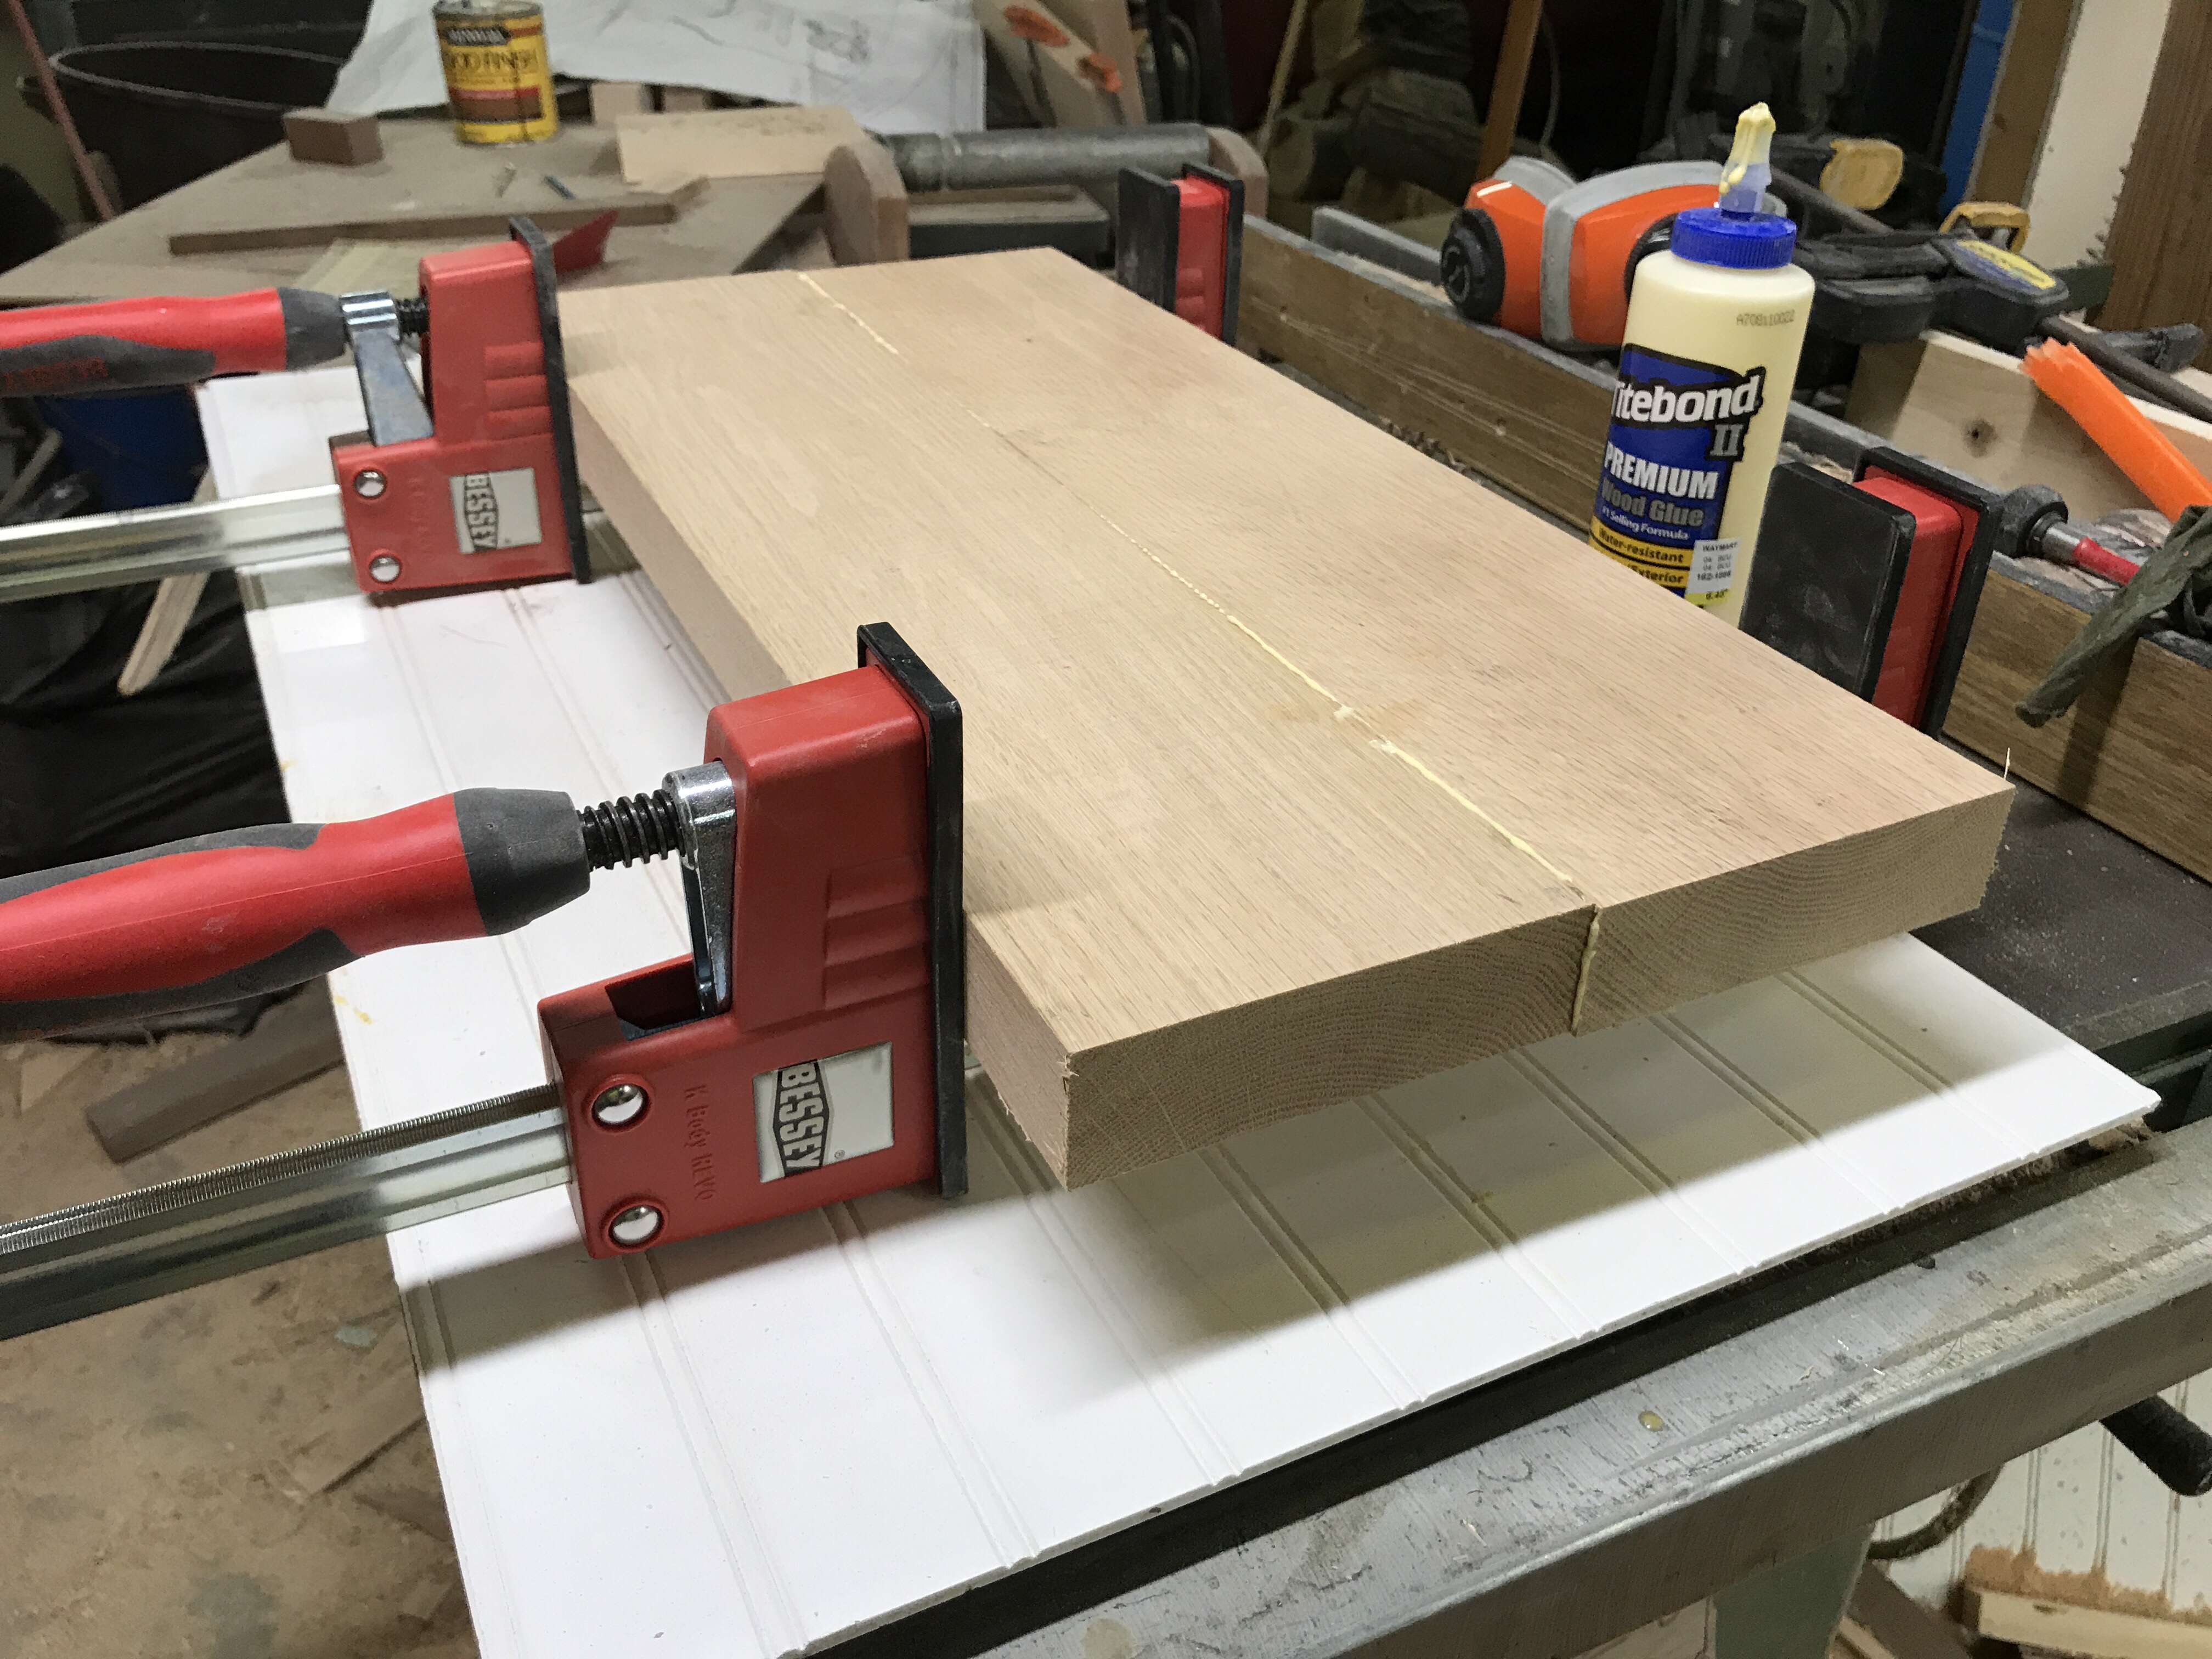
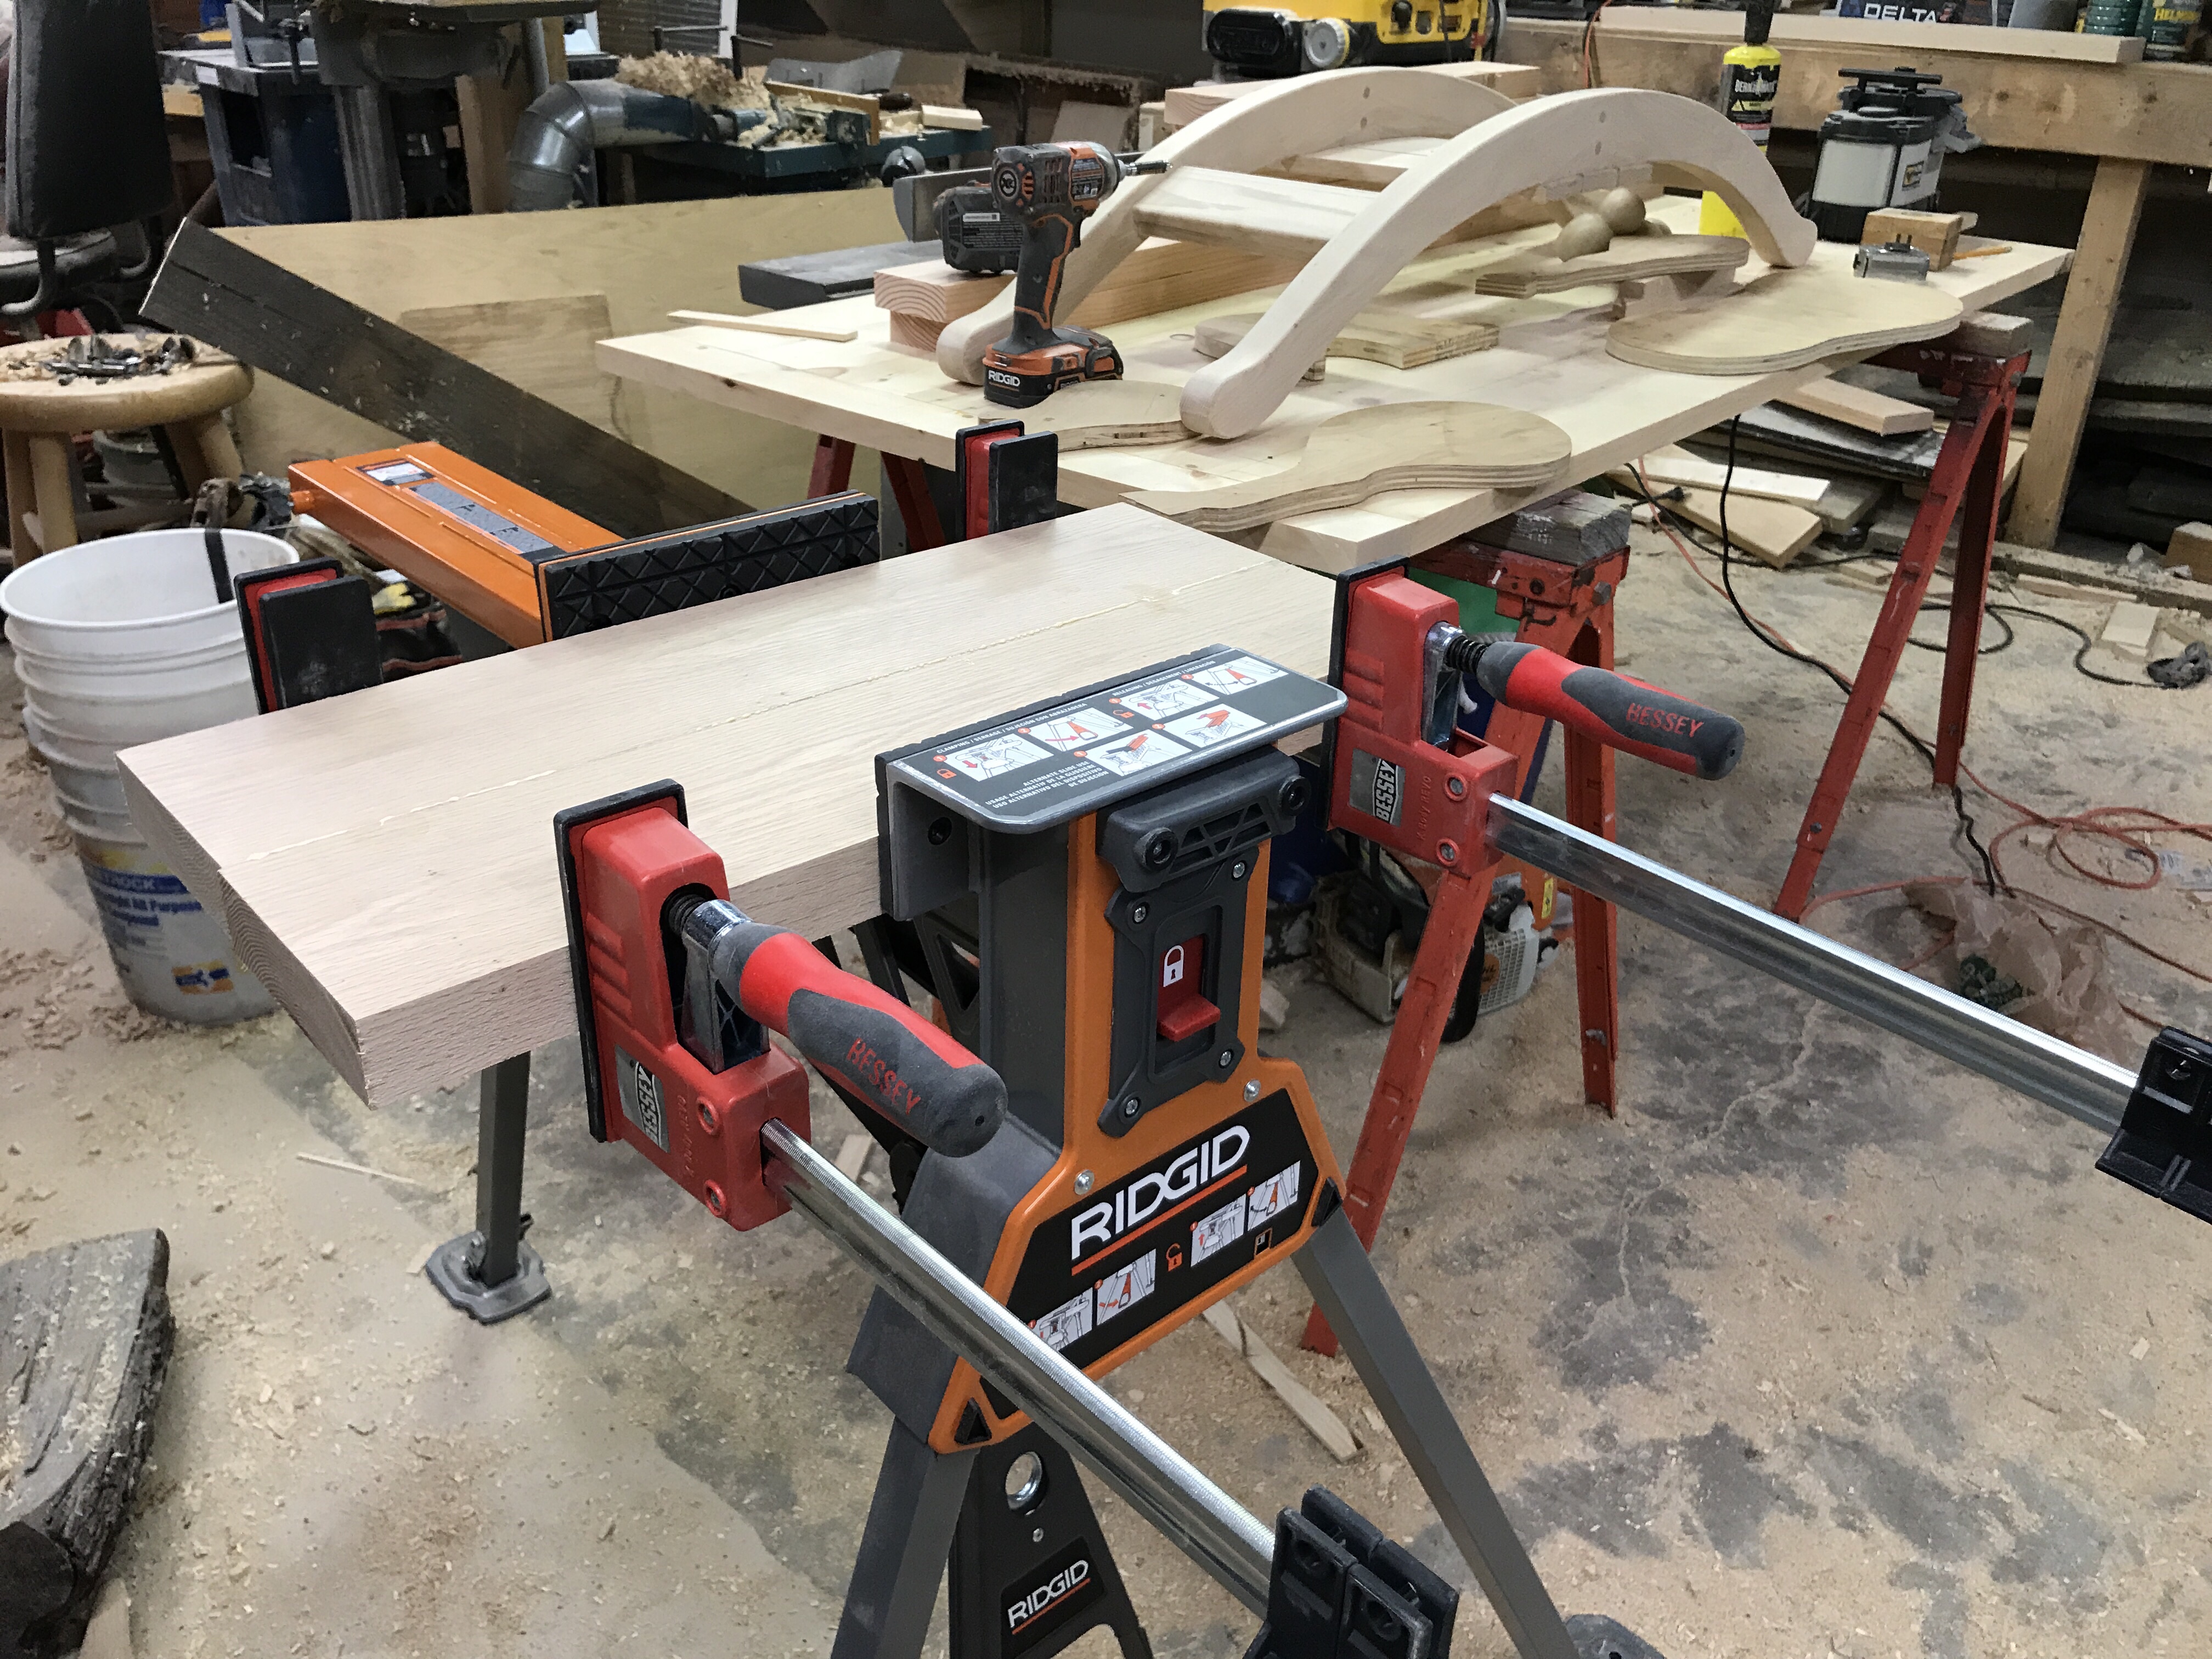
The body, neck, and head of the horse is made out of 6/4 stock with 3/4 side panels and accent pieces. I had recently purchased some Bessey clamps and a Ridgid Super Clamp from Home Depot which worked beautifully for the glue ups. I do like the deep clamping source of the Bessey’s and the Ridgid is a monster!
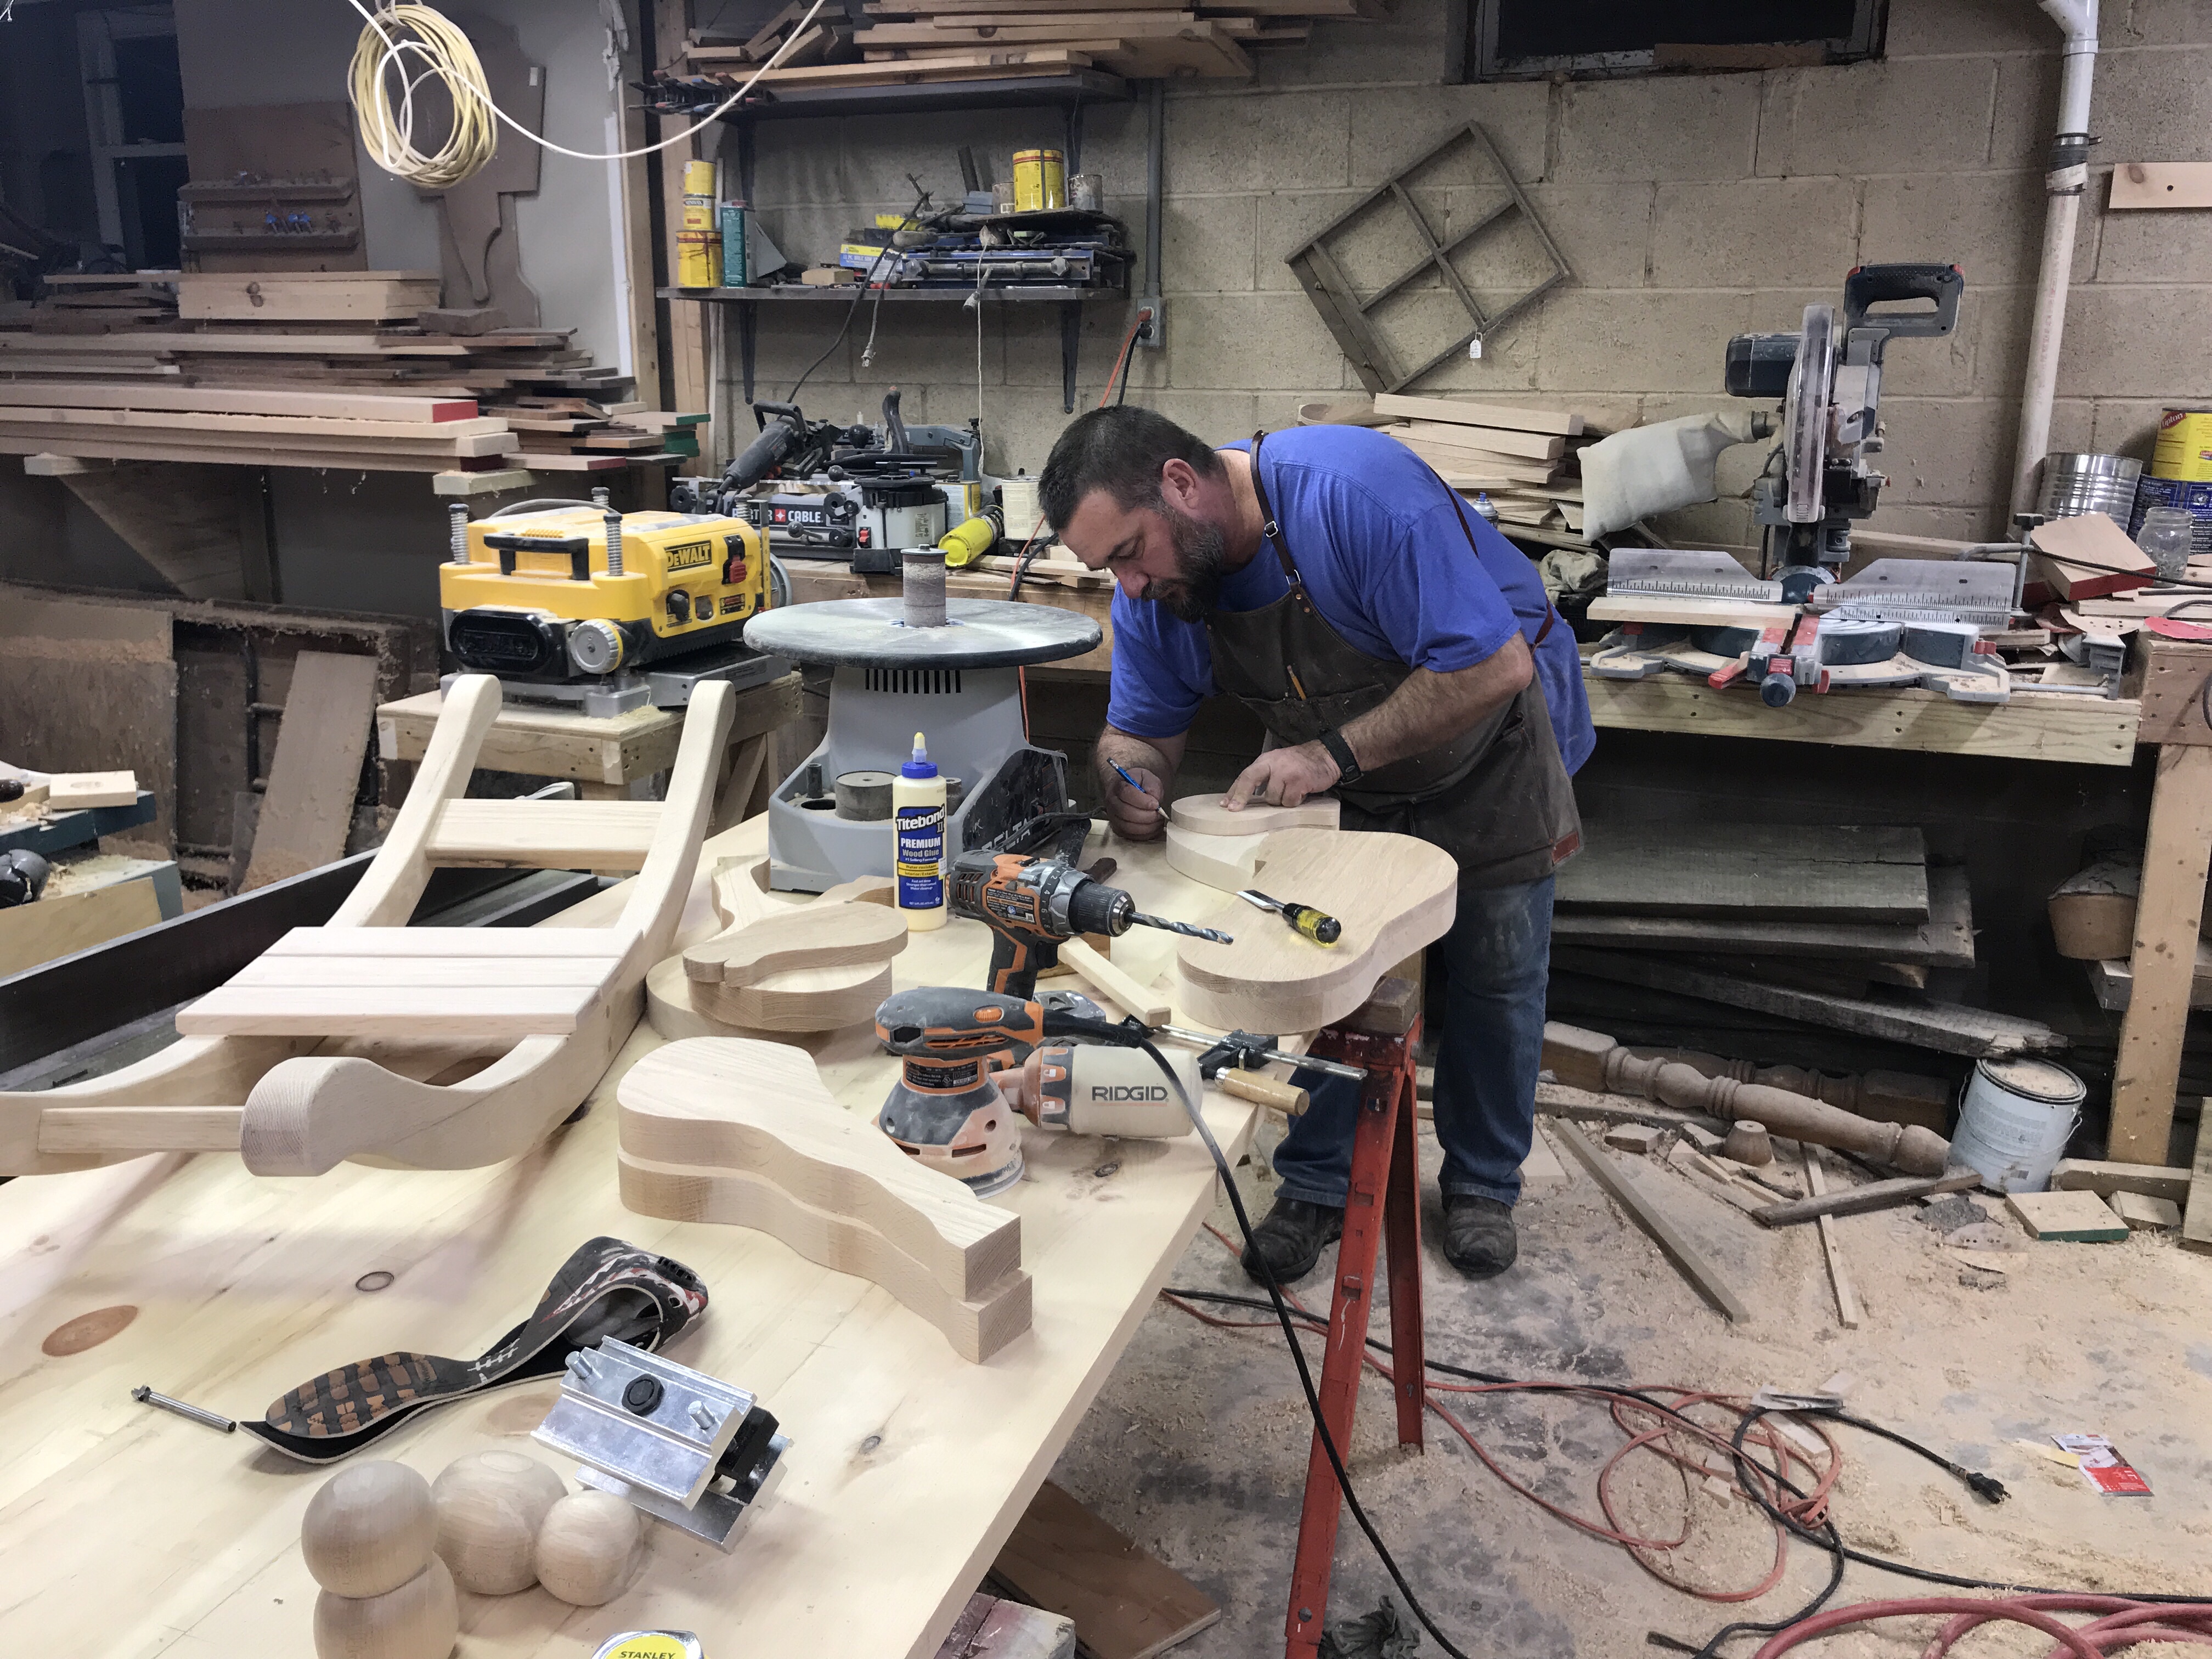
The background shows my lathe were I was working on other Christmas presents whenever I could sneak in the time.
Spoiler Alert!
In part four you will learn that the following picture shows what will turn out to be a major mistake for this project!
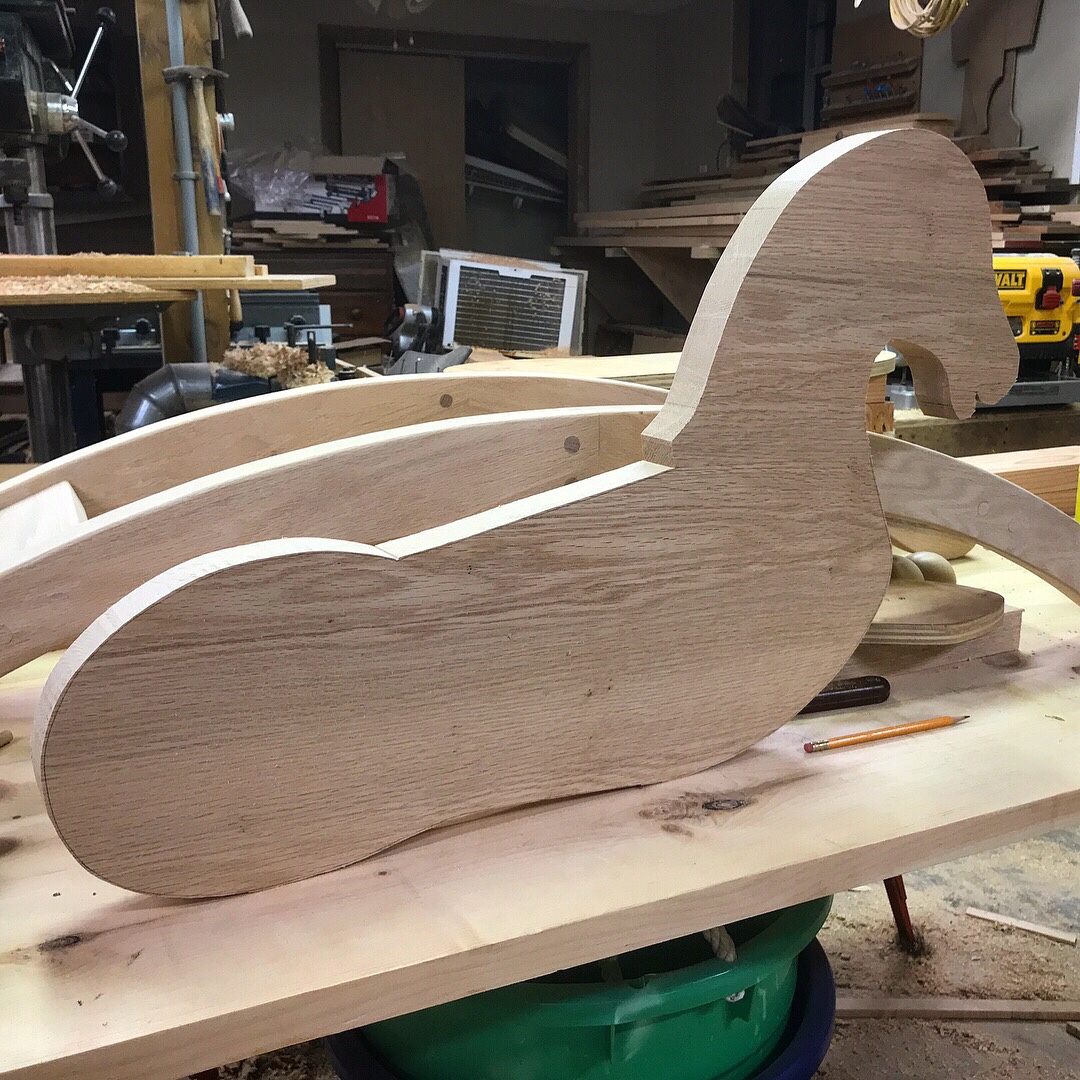
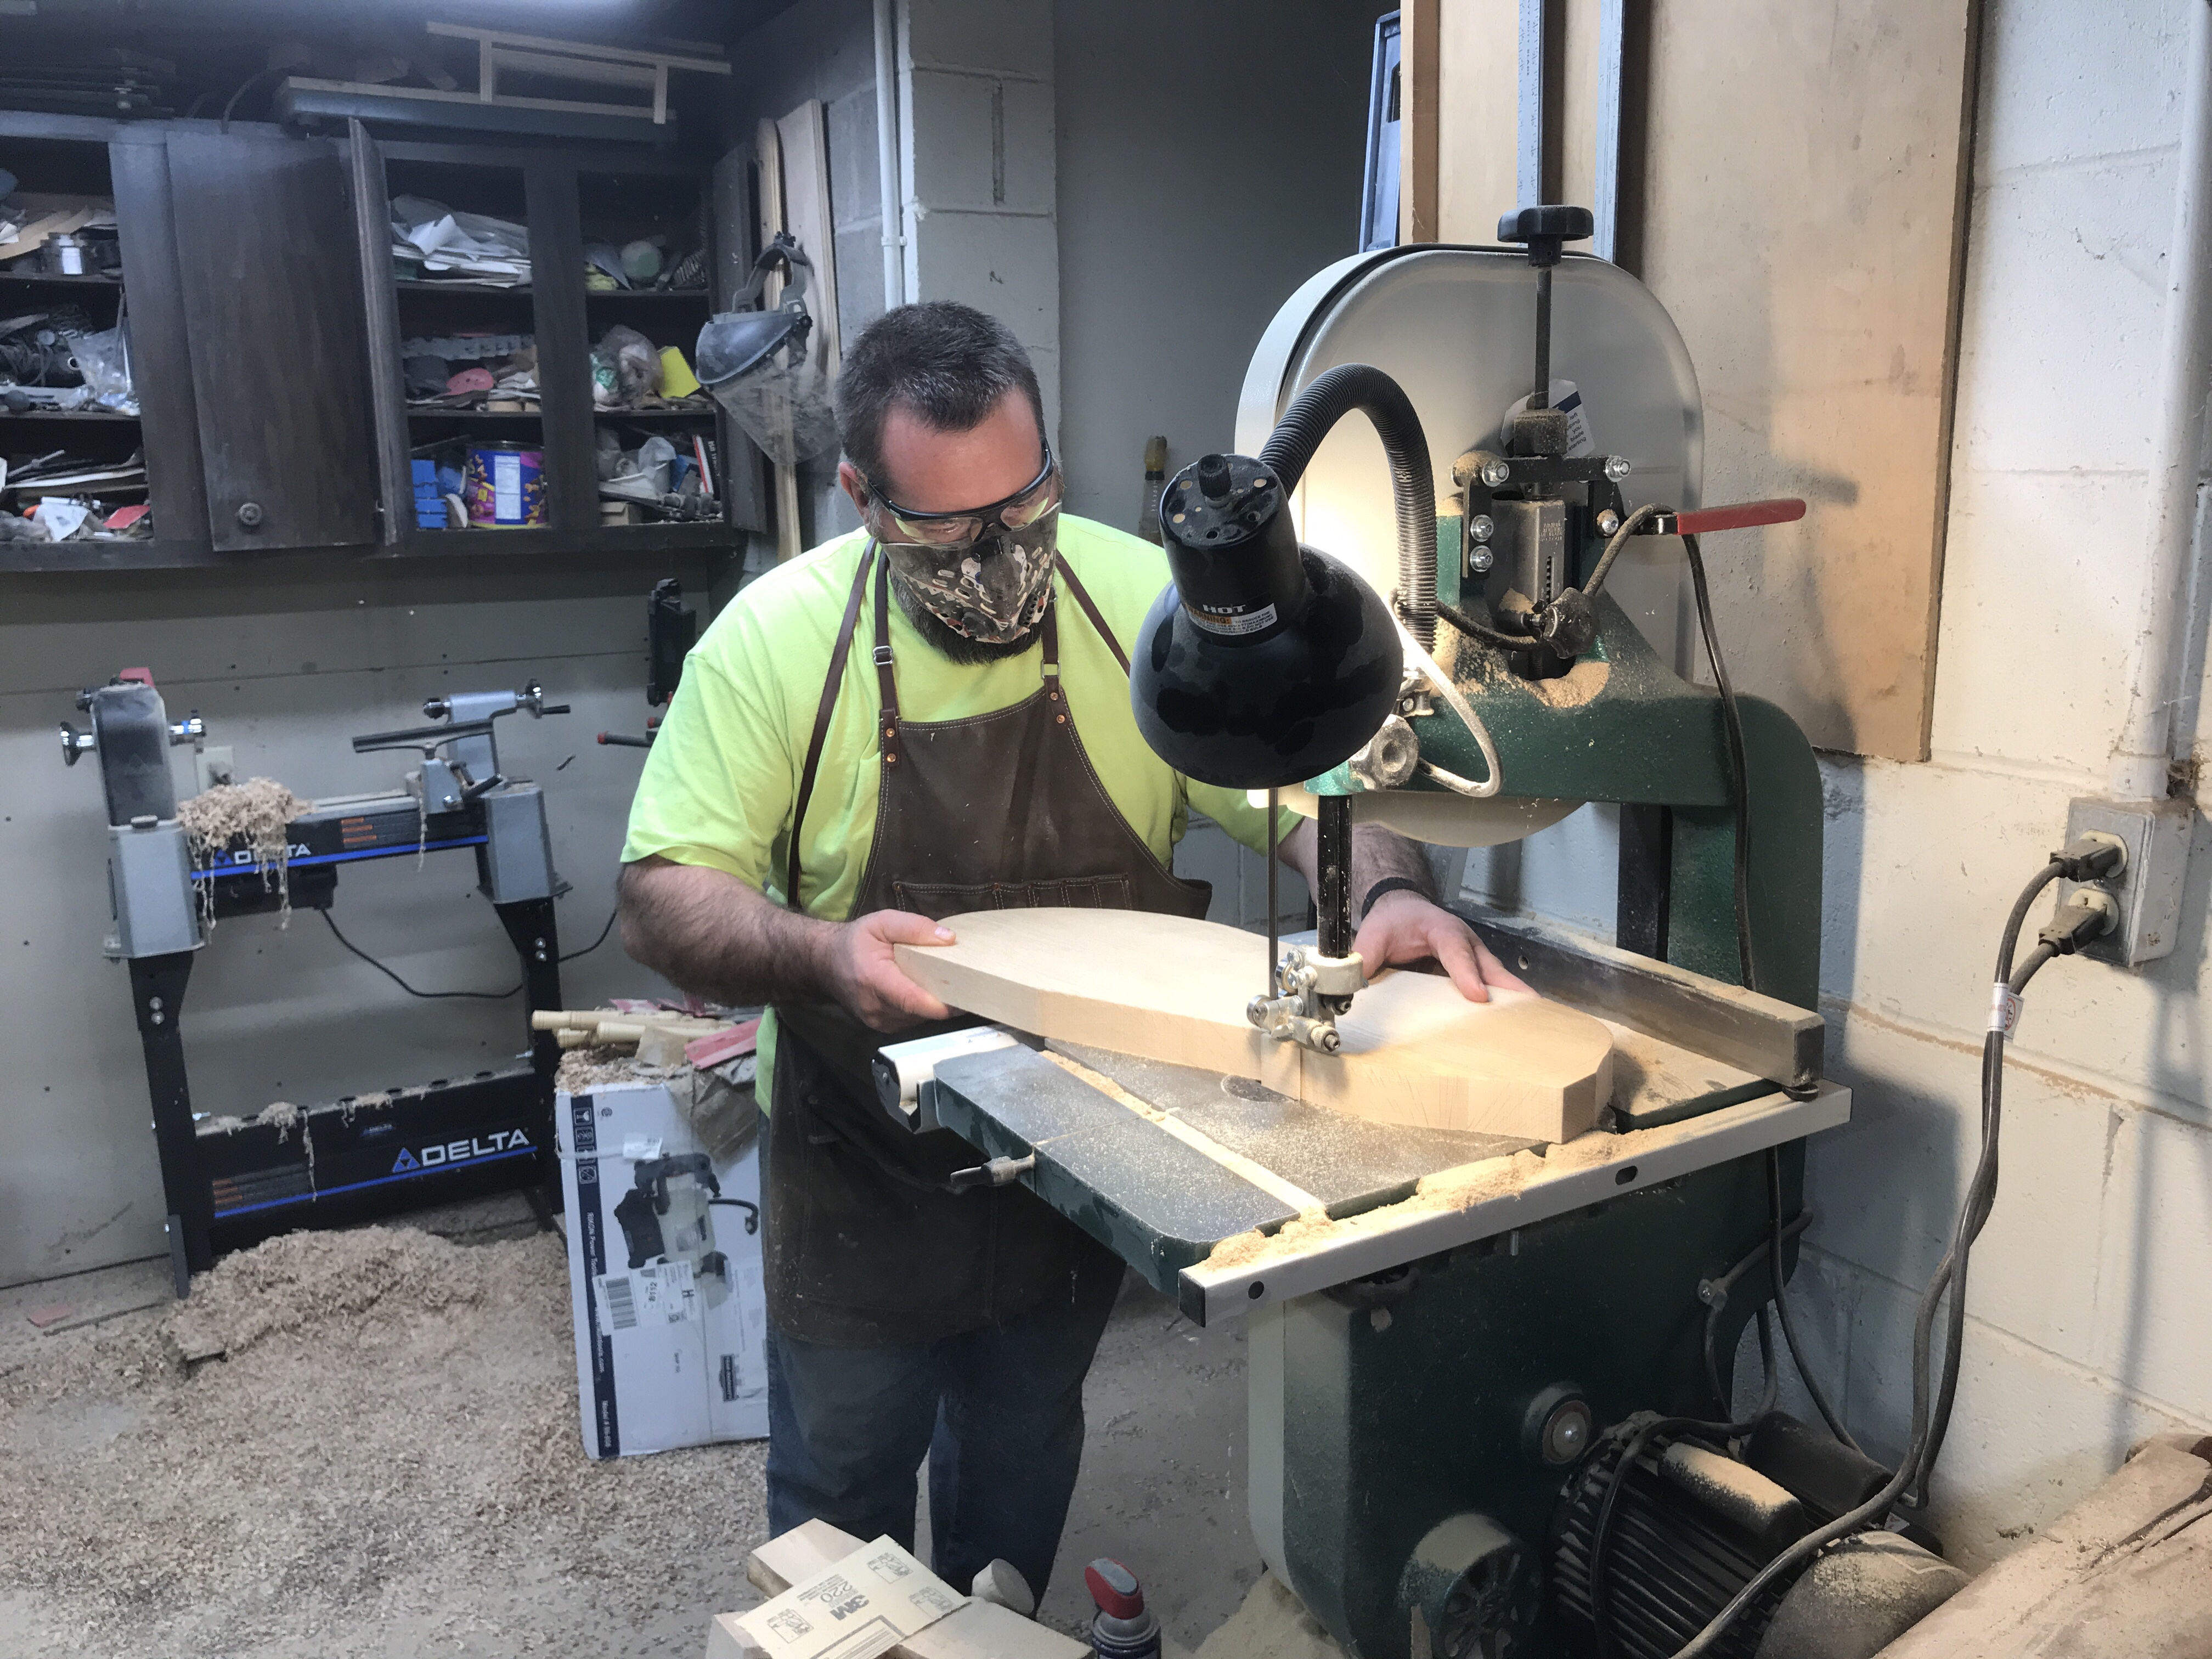
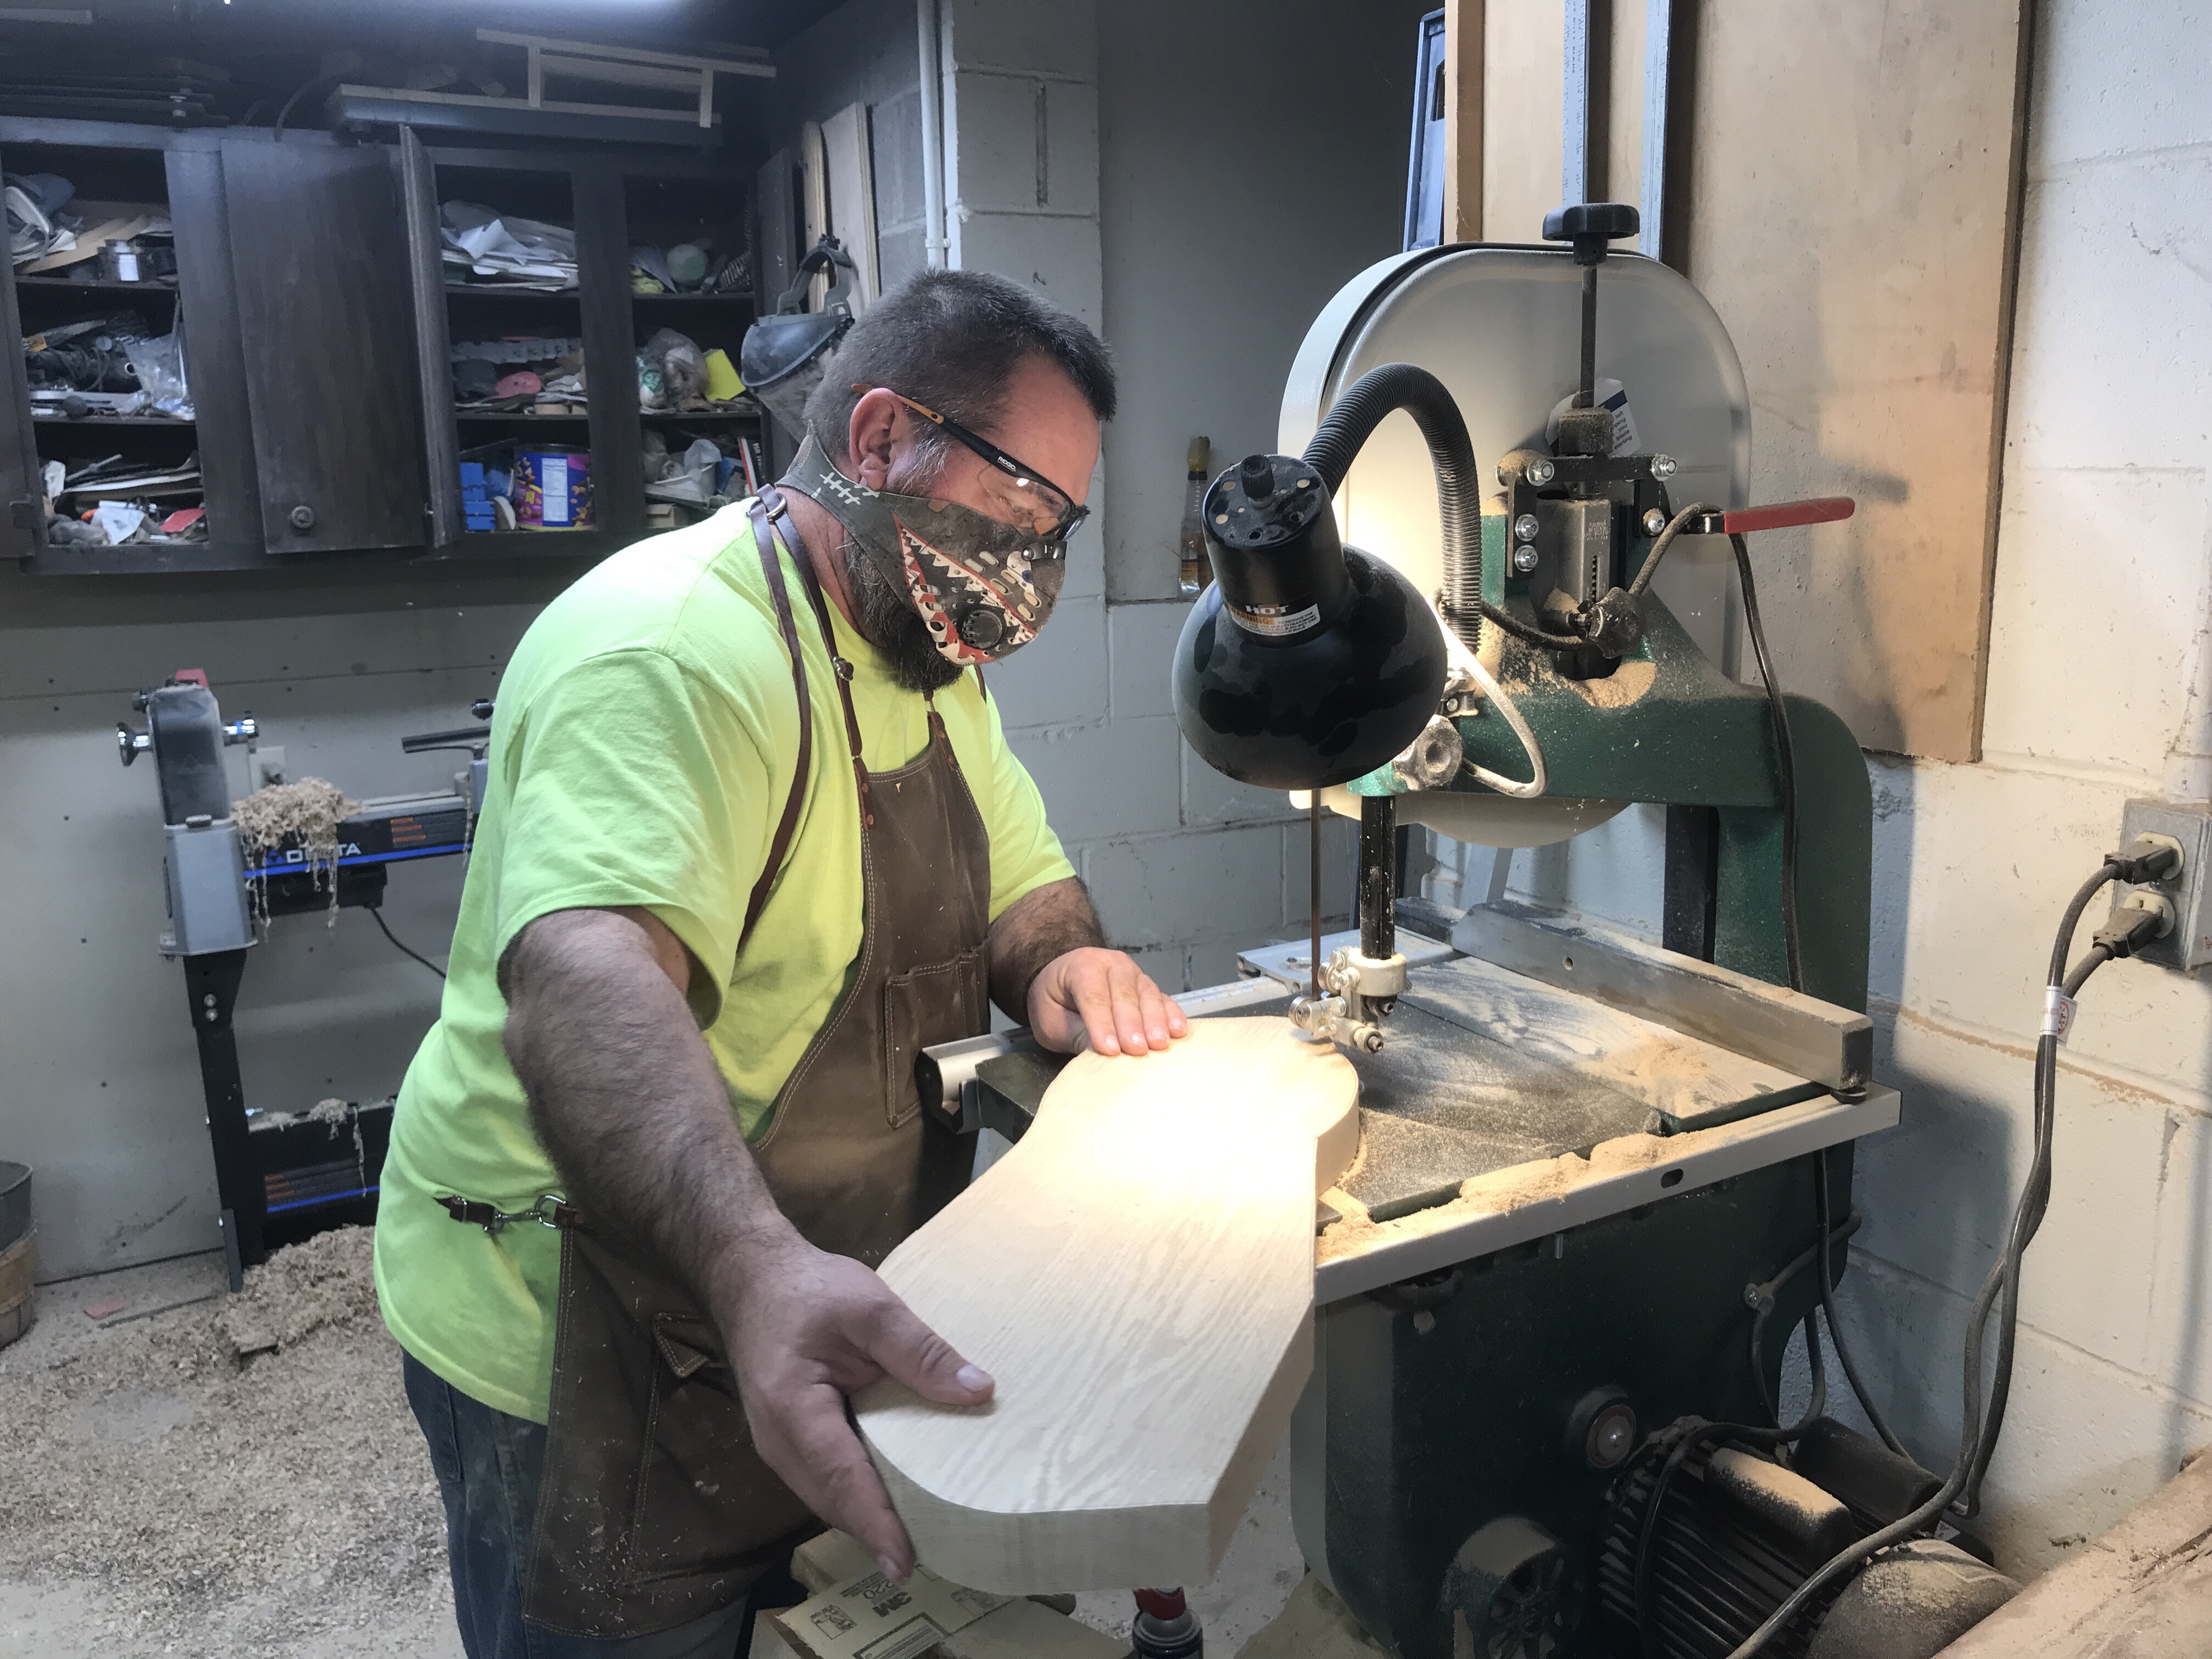
After the glue set up it was back to the bandsaw to rough out the shapes and routing to the final shape with the pattern bit against the mdf patterns. At this point I also attached the head to the body with glue and 1/2″ dowels.
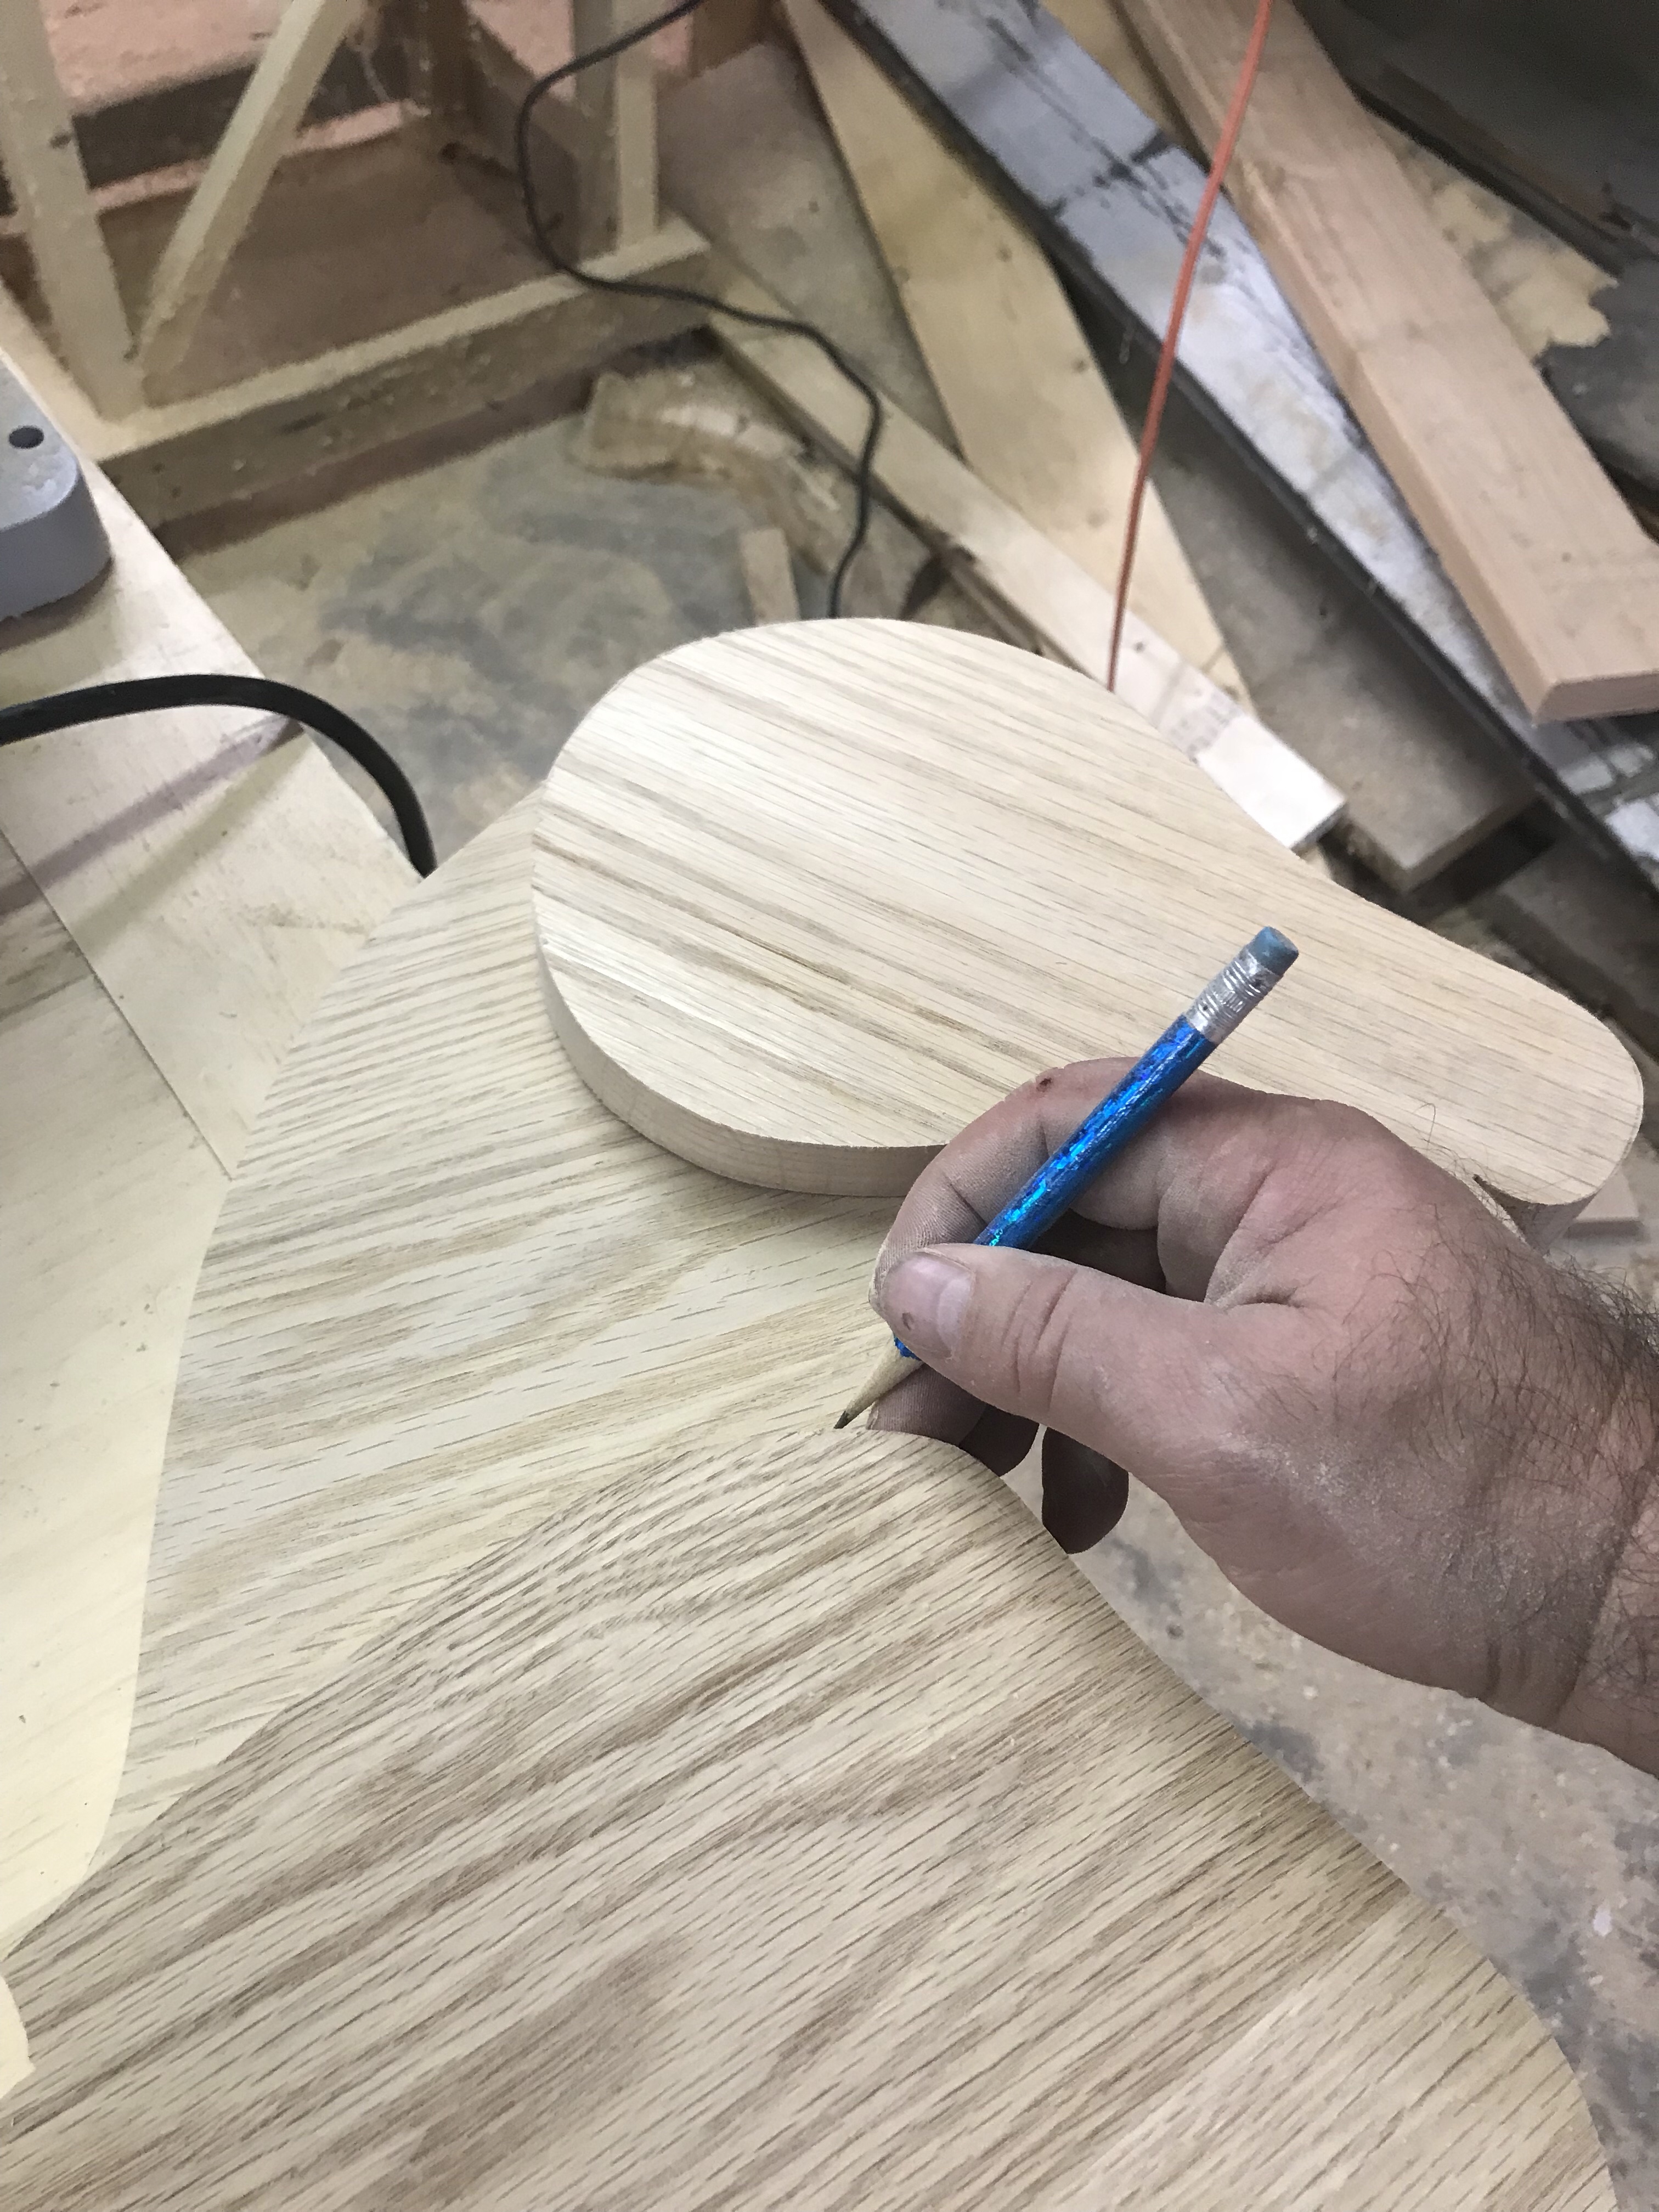
Next I positioned and marked the the 3/4″ side panels. I used a 1/2″ round over bit in the router to shape areas where the panels and body core met. I would not be able reach these areas once everything was glued together. As you can see, I spend more time working in my shop than I do cleaning it!….sigh
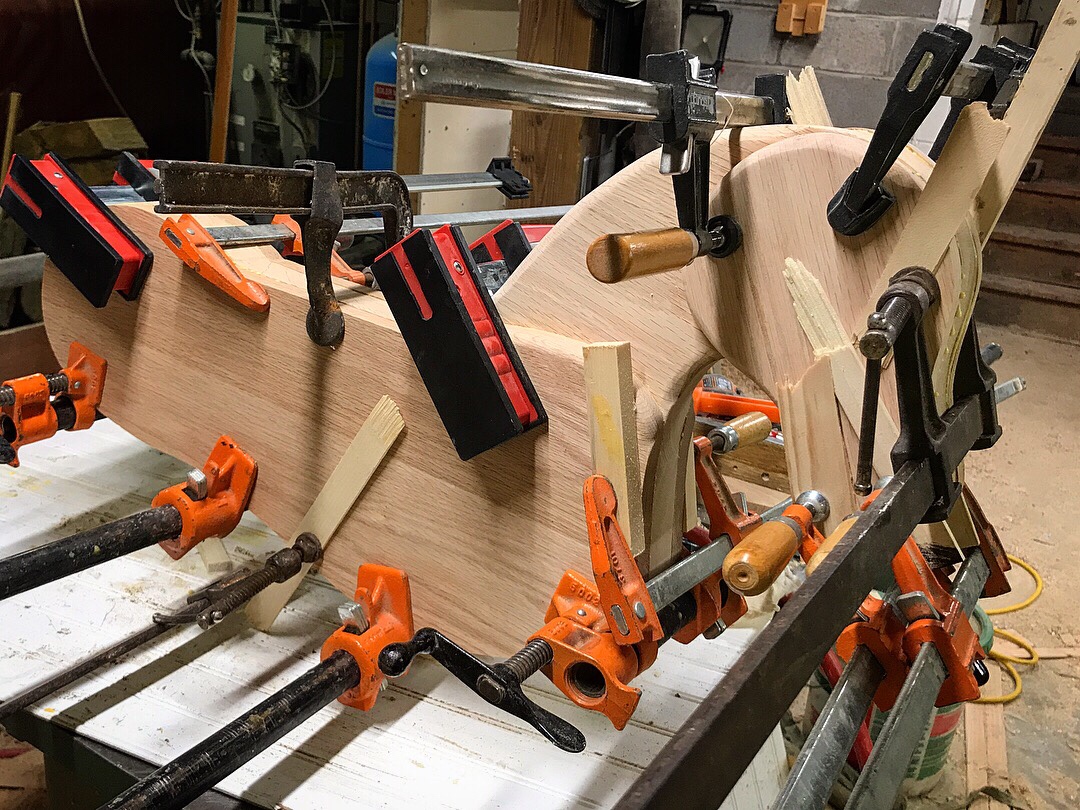
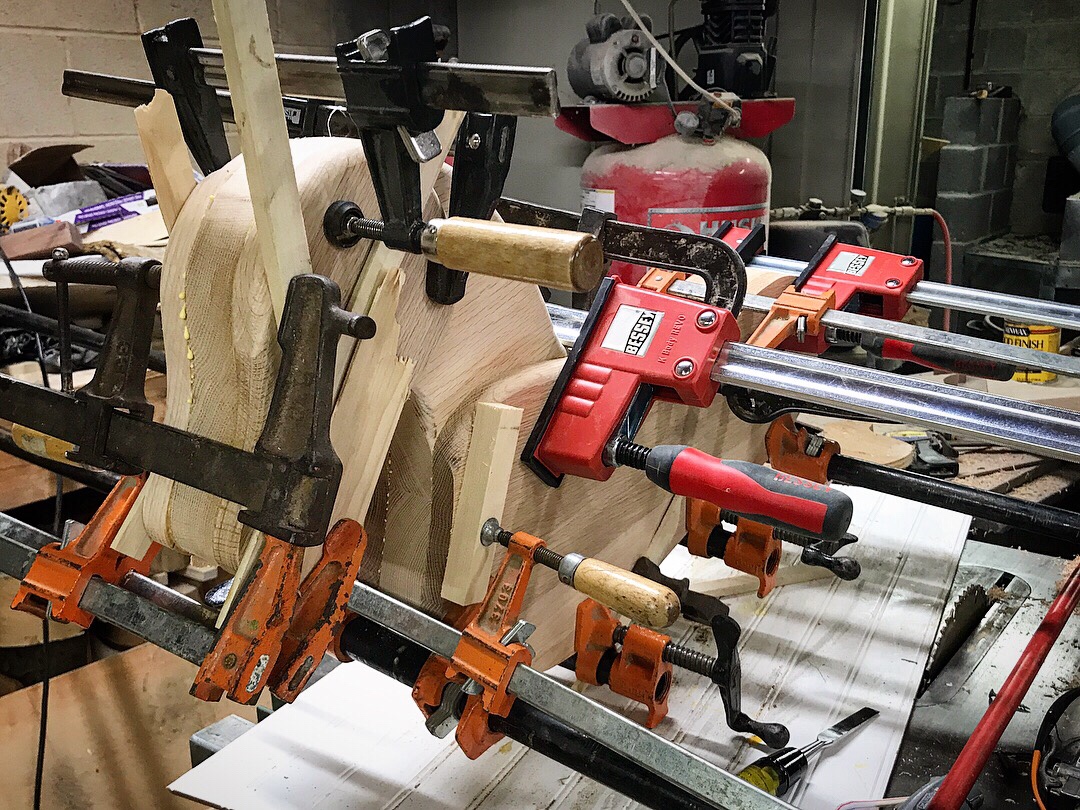
Lots of glue and plenty of clamps made this little horse look more like a porcupine! Once the clamps were removed it was time to do some more routing, shaping, and sanding to make sure everything flowed together. The last picture shows some of the areas that I routed prior to glue up. In the next post I will show how the legs were formed.
Leave a Reply